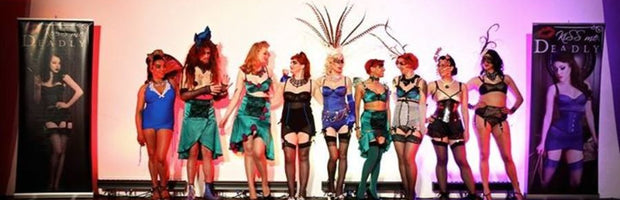
When we released our Autumn pictures based on Mata Hari, I think I had slightly more emails about the knickers than the headdresses, but it was a close run thing! So here is how I made a headdress, this time in different colours and with really bad photos.

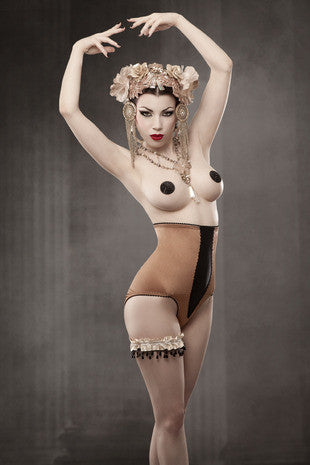
The above images were inspired by this sort of picture of Mata Hari – who may well not have been a spy in all honesty, but makes for brilliant images!

Things you will need:
* a wide headband/aliceband. This one is one I had from Taissalada, but you can get them on eBay easily enough. The wider it is the more space you have to play with.
* a plastic head to put it on (you can probably do it without this but it's hard work).
* a glue gun and oodles of glue for it.
* some sequin and bejewelled applique bits – I got this pile from Primark (very cheap high street shop in the UK which is highly unethical to buy from but strangely irresistible) and ripped the shiny bits off the thin hair elastics they were on.
* jewellery and chains – again, I used Primark and also the sale in Accessorize for a bit more variety and better looking/hanging chains.
* big corsages – I think mine in this are a bit too big actually!
* jewellery wire, beads, jewellery making pliers – these aren’t essential but they do really help.
* spray-paint in metallic colours is also handy.
With the decorative bits, they key is to get a nice mix of textures and shiny things! The original colours were pink/peach/gold/bronze and a black/pearl/cream/silver, this one is blues/grey/silver/black/pearl one.

You’ll also need some space and a surface you don’t mind getting glue on – I get glue EVERYWHERE when I do these things
So the first step is put your surface you don’t mind gluing on down, and then start planning. I used hairgrips and pins to get a rough idea of where I wanted to put things. Start with the applique bits and work up. It's important to do this because once you start gluing you can’t really change your mind.

Once I had a vague plan, I took the hairpins off and started putting down lots and lots of glue. Like, LOTS. I glued the to sequin-on-net-on-felt bits onto the headband first after removing a bead from the centre of each of them. Then I glued the diamante-on-felt bits over the top. In theory, it would be better to sew them, but in practice that would take ages and I am terrible at sewing. If you were using the same method to spangle your lingerie though, definitely you have to use a needle and thread!


Then I took the cluster of beads from the long tassel necklace, took it off its chains, added some extra beads (this is where the jewellery wire and pliers come in) and er . . . glued it in the centre. Again, arguably sewing would be better.
After that, I glued various types of pearl - if you’re not overly worried about quality you can get these super cheap – onto the applique and around the top of the band. With the peach/gold band used for the actual shoot, I used long necklaces and added extra beads and droplets, plus hooked in massive drop earrings. For this I’d found some ankle chains (I’m not a fan normally but they were the right size) with little shimmery discs in silver along them, so I used the closure part to hook them through the stitching on the jewelled appliques. Again, and you’ll get bored of me saying this . . . you should sew these on, it’d be more secure. The advantage of these shorter ones over long necklaces is that there’s less to get tangled up and pull things off, but it's less dramatic than the one we use in the pictures.

Here I’ve clipped the flower corsages on at the back and then hooked the other end of the anklet chains around them.

Then I woke one of the cats up and tormented him with a hint of catnip and the chance to play with a dangly thing for a while. It's ok, the vet says he needs more exercise, though not glowy eyes.

My head was unimpressed.
I’m reasonably happy with the bejewelled aspect of the headband – its seriously encrusted! But I think the corsages are either too large or need to be balanced out by more height on the band, and also possibly glittery, but I could just have spent too much time with spangly showgirls of late. I’m going to sleep on it and see what I think in the morning – quite apart from anything else a possible solution is to add an extra rigid necklace to the top, but that would make it more unstable as a flat necklace glued to a curved surface won’t last very long.

For the one in the pictures, we used two gold metallic leather corsages and two sheer organza ones that were sprayed bronze in places, which I think worked better.
Of course, this won’t look as good as the ones in the AW collection because a) Morgana isn’t wearing them and b) I am not a professional photographer!
But that’s how you’d go about making your own. If you have the time, digital dexterity and attention to detail, you can also make some amazing structures for heads from jewellery wire based on headbands, but I ran low on those 3 resources some years back!


Edited to add - it may amuse you to know that 6 years on we eventually used the one we made here!